|
| |
I don't want a solid colored box, I want a pretty pattern on it.
- Add a box to the viewing window (click on the box icon, then click in the viewing
window).
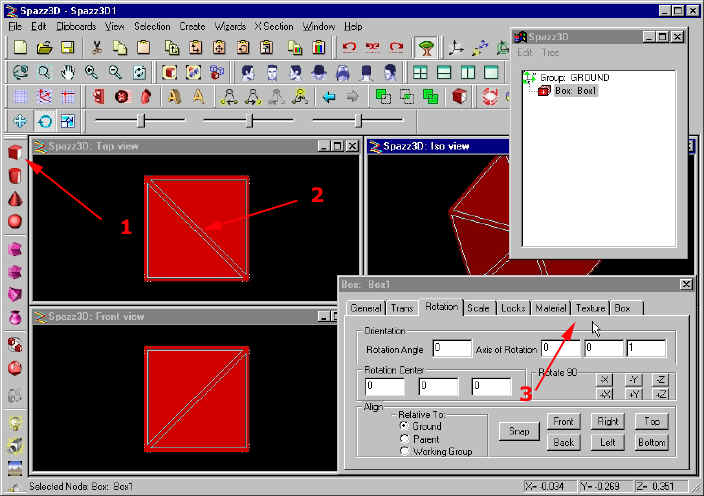
- Then double click on the box, or double click on the box in the tree window.
- A properties panel pops up, select the Texture tab.
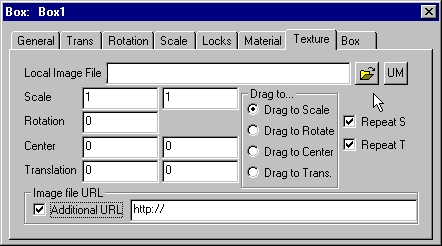
- If you click on the folder icon you will see a list on the many patterns or textures
that come with Flux Studio3. For this example, I chose a rough brick texture.

- You may want to zoom in a little on the box to see it better. You can also rotate the
box a little so you can see it from a corner side. The first icon free rotates the object,
the magnifying glass allow you to draw a box around the object which the application zoom
in on.

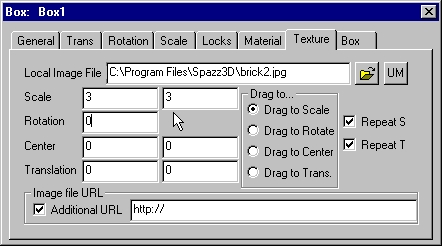
- I thought these bricks were too large, so in the properties window I typed in a couple
of 3s to scale it down in both directions. Perfect?
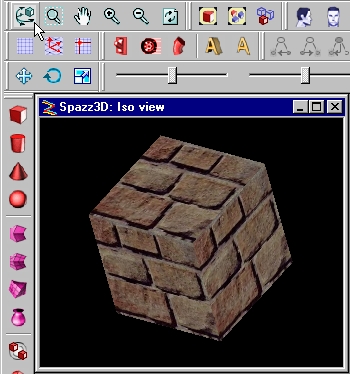 
- Below is the scaled down brick texture.
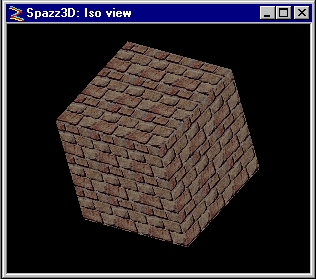
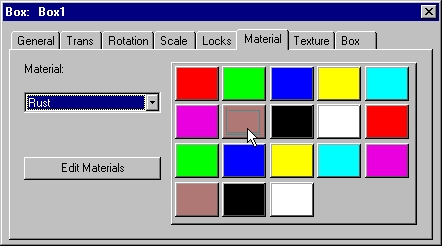
- Well, one more thing to make it right. It is recommended to make the box color
underneath the brick pattern approximately the same as the brick texture color. To do
this, double click on the box and select the Materials tab and pick a suitable color such
as rust in this case. This may not seem important, but it is. The box should appear the
right color while the texture file is downloading. It is a good practice to get into.
|
